Homemade Paneer vs. Store-Bought: The Quest for Superior Softness
Paneer, the beloved fresh Indian cheese, holds a revered place in countless culinary traditions. From rich curries like Palak Paneer and Shahi Paneer to crispy appetizers and even desserts, its delicate milky flavor and unique texture are indispensable. While readily available in supermarkets, a common complaint among paneer aficionados is the often rubbery, crumbly, or overly firm texture of store-bought varieties. This is where the magic of homemade paneer truly shines. Embarking on the journey of
diy how to make paneer at home isn't just about saving money; it’s about achieving an unparalleled level of freshness, flavor, and, most importantly, *superior softness* that elevates every dish.
Imagine sinking your teeth into a piece of paneer that’s melt-in-your-mouth tender, subtly creamy, and effortlessly absorbs the flavors of your favorite sauce. This dream texture is entirely within your grasp when you learn to craft this Indian cheese from scratch. Once you experience the difference, you’ll likely never look back at the pre-packaged blocks again.
Why Homemade Paneer Reigns Supreme in Softness and Flavor
The contrast between homemade and store-bought paneer is stark, particularly when it comes to texture. Store-bought paneer often undergoes industrial processing and sometimes contains stabilizers or preservatives that contribute to a firmer, less yielding consistency. It's designed for a longer shelf life and to withstand transportation, often at the expense of its delicate nature.
*
Unrivaled Freshness: When you make paneer at home, you control every ingredient and step, ensuring it's as fresh as possible. This freshness directly translates to a more vibrant milky flavor and a less "processed" taste.
*
Superior Texture Control: This is the key differentiator. By adjusting the type of milk, the curdling process, and critically, the pressing time and weight, you can dictate the exact firmness of your paneer. For that coveted *superior softness*, you'll learn techniques that are impossible to replicate with a pre-made block. Homemade paneer, when done right, is incredibly spongy and tender, easily absorbing marinades and curry sauces.
*
No Unwanted Additives: Commercial paneer might contain food acids or anti-caking agents. Your homemade version is pure, made with just two or three simple ingredients: milk, a curdling agent, and sometimes salt.
*
Cost-Effective: While requiring a little effort, making paneer at home is significantly more economical than purchasing it regularly from the store, especially if you use a lot of it.
*
Sense of Accomplishment: There's immense satisfaction in creating such a versatile and delicious ingredient with your own hands.
The Essential Ingredients for Perfect Paneer
The beauty of paneer lies in its simplicity. You need only a couple of pantry staples to begin your journey into
diy how to make paneer at home.
*
Whole Fat Milk: This is arguably the most crucial ingredient for achieving soft, creamy paneer with a good yield. The higher fat content (ideally 3.5% or higher, up to 6%) contributes to richness and a smoother texture. Skim or low-fat milk can still be used, but the resulting paneer will be less creamy, firmer, and yield a smaller quantity. For 1 liter of whole milk, you can expect approximately 175-200 grams of paneer, depending on the fat content and pressing.
*
Acidic Curdling Agent: You have a couple of excellent options here:
*
Fresh Lime Juice: Our preferred choice for its natural acidity and a clean finish. Use 2-3 tablespoons per liter of milk.
*
Vinegar (White Distilled Vinegar): A reliable alternative, typically 1.5-2 tablespoons per liter. Vinegar is often more potent, so add it gradually. While effective, some find it can leave a very faint, almost undetectable tang if not rinsed thoroughly.
*
Other Options: Citric acid powder (a pinch dissolved in water) or even yogurt can be used, though lime juice and vinegar are most common for their consistent results and ease of use.
That's it! Some recipes suggest a pinch of salt during the curdling process for a subtly seasoned paneer, but it's entirely optional.
Step-by-Step Guide: How to Make Paneer at Home
Ready to create your own tender paneer? This detailed process will walk you through each stage, emphasizing the techniques for that coveted softness. For an even more visual guide and comprehensive walk-through, refer to our detailed guide:
DIY Paneer Guide: From Milk to Perfect Soft Indian Cheese Cubes.
1.
Prepare the Milk: Pour 1 liter of whole fat milk into a heavy-bottomed pan. A heavy bottom prevents scorching, which can impart an undesirable flavor.
2.
Bring to a Boil: Place the pan over medium-high heat. Stir the milk frequently to prevent it from sticking to the bottom and forming a skin. Allow it to come to a full rolling boil.
3.
Cool Slightly & Add Acid: Once the milk boils vigorously, turn off the heat. This is a critical step for soft paneer; adding acid to vigorously boiling milk can make the paneer tough. Let the milk cool for 1-2 minutes. Then, start adding your chosen acidic agent (lime juice or vinegar) *one teaspoon at a time*.
4.
Gentle Curdling: After each addition of acid, stir the milk *gently* for a few seconds. You will begin to see the milk solids separating from a yellowish-green, watery liquid – this is the whey. Continue adding the acid, spoonful by spoonful, until the milk has completely curdled, and the whey is clear, not milky. If it’s still cloudy, add a little more acid.
5.
Rest: Once fully curdled, let the mixture sit undisturbed for 5-10 minutes. This allows the milk solids to consolidate and become firmer before straining, contributing to better texture.
6.
Prepare for Straining: Line a large colander or strainer with a clean, thick muslin cloth or cheesecloth (ensure it's food-grade and doesn't have any fabric softener residue). Place the colander over a larger bowl to collect the valuable whey.
7.
Strain the Curds: Carefully pour the curdled milk mixture into the muslin-lined colander. The whey will drain through, leaving the soft milk solids (paneer curds) in the cloth.
8.
Rinse Thoroughly: Gather the edges of the muslin cloth, forming a ball around the curds. Gently rinse the paneer curds under cold running water for 1-2 minutes. This step is crucial for two reasons:
* It washes away any residual sour taste from the lime juice or vinegar.
* It helps to cool down the paneer, which prevents it from cooking further and contributes to a smoother, softer texture.
9.
Gentle Squeeze: After rinsing, gently squeeze the muslin cloth to remove excess water. Be careful not to squeeze too hard at this stage, as it can make the paneer crumbly. You want to remove *most* of the liquid, but still retain some moisture for softness.
Mastering the Press: The Secret to Softness and Shape
The pressing stage is where you truly dictate the final texture of your paneer, transforming the loose curds into a cohesive block. This is particularly important for achieving *superior softness*.
1.
Shape the Paneer: Lay the muslin cloth with the paneer curds flat on a clean surface. Gently fold and shape the curds into a rectangular or square block within the cloth. This helps achieve a uniform shape and texture.
2.
Apply Weight: Transfer the cloth-wrapped paneer block to a plate with holes or a wire rack set over a tray (to catch any remaining drips). Place a heavy, flat object directly on top of the paneer. Common weights include a heavy-bottomed pan or wok filled with water, a stack of heavy cans, or even a mortar and pestle.
3.
Pressing for Softness: This is where attention to detail pays off.
* For *superior softness* that is still firm enough to cut without crumbling, press the paneer for approximately **1.5 to 2 hours** with a moderate weight. This allows enough moisture to drain for structural integrity but retains enough for a tender bite.
* If you prefer a slightly firmer, more dense paneer (similar to some store-bought varieties, though still fresher), you can press for 3-4 hours, or even longer (up to 5-6 hours) for a very firm block. The longer and heavier the press, the firmer the paneer will become.
4.
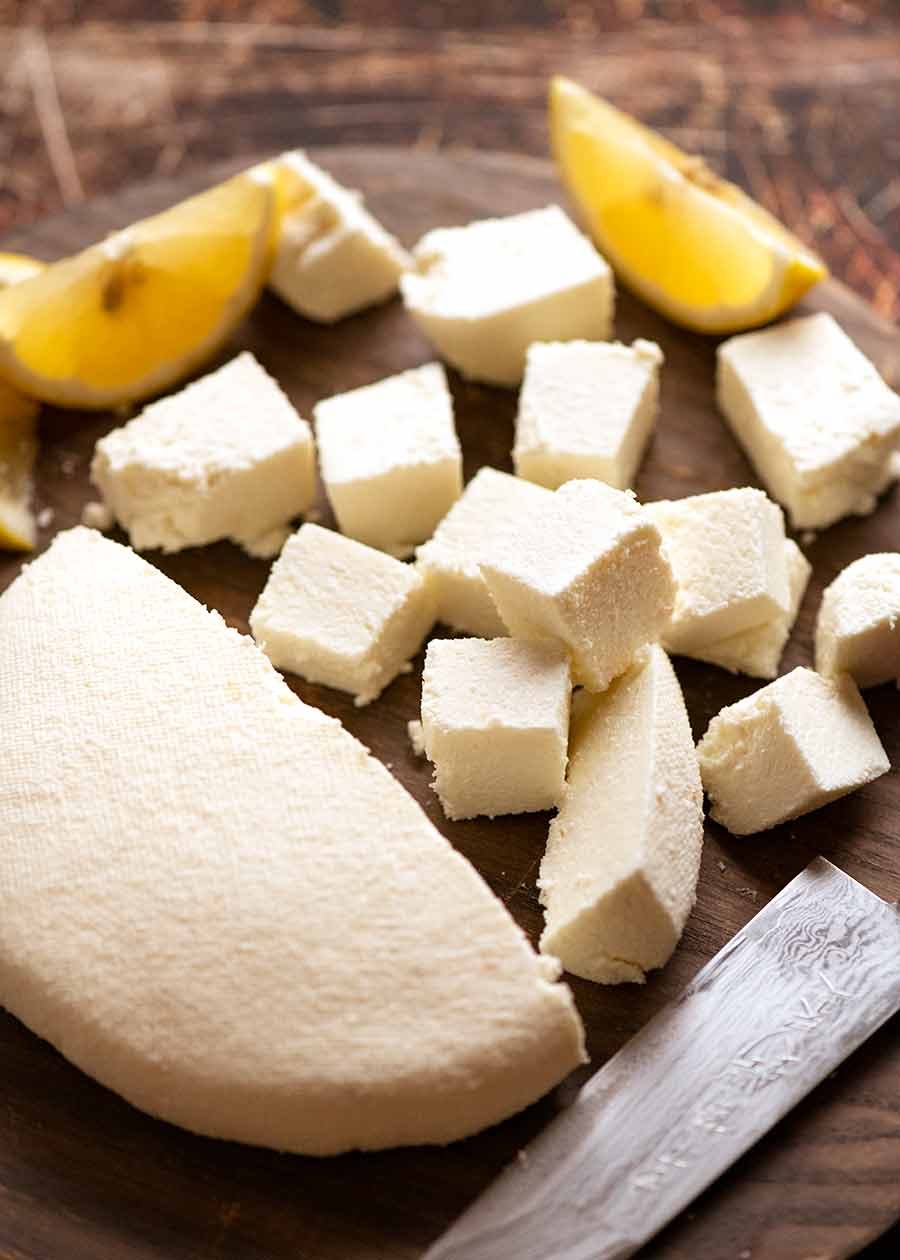
Unmold and Cut: After the pressing time, carefully unwrap the muslin cloth. You will be greeted with a beautifully formed block of fresh, homemade paneer. You might notice the edges are slightly more crumbly than the center; this is normal. Gently trim the edges if desired, and then cut your paneer into your preferred cubes, slices, or crumbles.
Beyond the Basics: Tips for Paneer Perfection and Storage
Now that you've mastered the art of
diy how to make paneer at home, here are some additional tips to ensure consistent perfection and make the most of your efforts:
*
Don't Waste the Whey! The yellowish-green liquid drained from the paneer is highly nutritious, packed with protein, vitamins, and minerals. Don't discard it! You can use it to knead dough for chapatis or bread (it adds softness and flavor), as a base for soups, curries, or even a post-workout drink.
*
Troubleshooting Crumbly Paneer: If your paneer crumbles when you cut it, it likely means too much moisture was squeezed out or it was pressed for too long/with too much weight. Next time, reduce the pressing time or lighten the weight. Using very high-fat milk can also help retain moisture.
*
Troubleshooting Rubbery Paneer: If your paneer feels rubbery, it could be due to adding the acid to milk that was boiling too vigorously, or letting the curds boil for too long after adding the acid. Ensure you turn off the heat and let the milk cool slightly before adding the curdling agent.
*
For Extra Softness (Post-Cooking): If you find your paneer has firmed up a bit after pressing or cooking, you can soak it in warm water or warm milk for 10-15 minutes before adding it to your curry. This helps to rehydrate and soften it.
*
Storage:
*
Refrigerator: To keep your homemade paneer fresh and soft for 2-3 days, store it in an airtight container completely submerged in cold water. Change the water daily.
*
Freezer: For longer storage (1-2 months), cut the paneer into desired cubes, pat them dry, and freeze them in a single layer on a tray. Once frozen, transfer them to a freezer-safe bag or container. Thaw in the refrigerator or soak in warm water before use. Note that frozen paneer might have a slightly altered texture, often becoming a bit firmer, but it's still excellent for curries.
Creating your own paneer is a rewarding culinary adventure that promises a superior product for all your Indian cooking needs. By following these steps and understanding the nuances of the process, you'll consistently achieve wonderfully soft, fresh, and flavorful paneer, transforming your favorite dishes from good to extraordinary. For even more insights and step-by-step visuals, check out
Easy Homemade Paneer: How to Make Soft Indian Cheese at Home. Give it a try – your taste buds will thank you!